
In a previous post, I ranted and raved all about file folder tasks and why I love them so much! Let’s talk about a different type of material called work binders. Now I know that file folders are a lot of work to put together, and you don’t have the luxury of changing the work out as needed. Thus, work binders make it so the materials are all located in the same binder and can be individualized to what they need to work on.
In my classroom we call them “work binders” and we have a different time that we complete this work from other work tasks and independent work. Although, it has the same purpose of providing students the ability to increase their stamina to work longer on their own.
The Purpose of Work Binders
First, I like that work binders enable students to have independence and build confidence. The key to this is making sure the work that you put inside the binders the students can do independently and on their own. For example, if a student cannot identify their shapes you wouldn’t give them a task in the binder to do that on their own. If a student can match images of shapes then this would be a page in the work binder that the student could complete independently.
And from an organization standpoint, I love binders because they fit nicely on bookshelves and I love to color code them so students can easily identify which is theirs. I can easily swap out pages from the binders as well once students have mastered a page and are ready for a new challenge.
What are Work Binders?

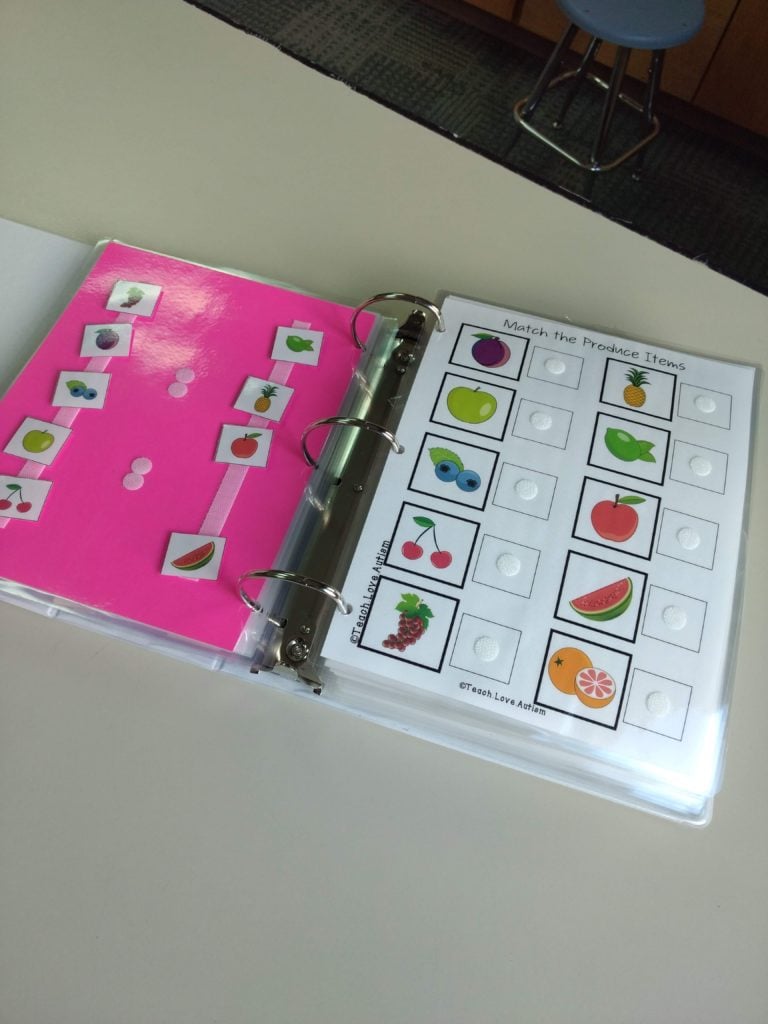
Work Binders are full of tasks for students to do independently. Each page is a different task. For example, one page might have a task where students match different community signs. The next page has letters in different fonts to match. The next page has the student’s name on it and the students have to use velcro letters to spell their name. Work Binders can have sorting, matching, labeling and categorizing activities.
How do I make them?
Let’s get into the nitty-gritty of Work Binders. You will need a few materials and I’ve found these the easiest to use:
- Cardstock
- 1″ binders in different colors
- Lamination Pouches
- Velcro (strips and dots are best)
Laminating works great as well and does help the paper to be more sturdy. You will also need to adhere velcro to the pages, cut out the small pieces, and attach velcro to the back of each small piece. (This is a great task for parent helpers).
What do I put inside?
Lastly, I have used many different materials in my work binders, but I wanted to stop searching around and piecing together materials that could work as I liked to change my materials out on a monthly basis so students wouldn’t get bored to easily.
I couldn’t find anything that had that much content to it, so I created it!
That’s how the Life Skills Mega Bundle was created!

Inside this set is materials for all kinds of topics such as:
- Community Signs, Helpers, and Places
- Money (Coins and Bills)
- Time
- Household Items
- Food
- Measurement
- Geography
- Weather and Seasons
- Days of the Week/ Months of the Year
- Clothing
Here’s an example of the 5 binders available in the Household Items

So these resources provided me with enough materials to fill students binders for the entire year! They have matching, sorting, and labeling tasks inside to keep them exciting, fresh and new!
Ways to Test this Out:
This can for sure seem like a giant investment into your classroom. The time and money it takes to purchase the materials, set up the area, and prep all the tasks can seem super overwhelming. I also suggest to teachers to start small! You don’t want to go all in to this system to find out it just doesn’t work for your classroom. So here are some ideas I have where you can try it, but not buy in completely if you aren’t ready:
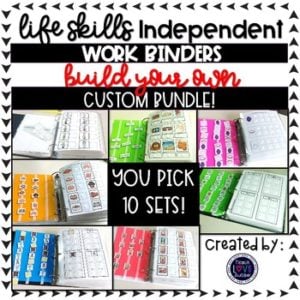
Buy a Custom Bundle of materials through these listings. They allow you to pick and choose what materials you’d like to use! I have a pick 5 or a pick 10 set that you can only get the skills you think your class needs!

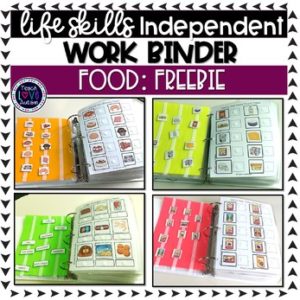
Not quite sold that making this type of an investment could work for your classroom? Or thinking that you’d like to give the idea a test run before you go all out? I’ve got you! Check out these free independent work materials that give you a snap shot of what you can do and see how your students can grow and become more independent!
PRO TIP: Don’t prep just yet, make them into worksheets!!

Lastly, if you do use these materials and don’t like the idea of having to prep all the things, and just want to get started right away then don’t laminate the materials! Don’t Velcro them either. Most of the materials you see could be used as worksheets that you could put in a binder for students to complete. You may want to help students that can’t cut by pre-cutting the pieces for them, but it’s another option!