
Adapt lessons, accommodate students, modify your methods, and repeat! Sound familiar? Special education teachers are constantly trying to adapt lessons. The most challenging aspects of moving to a cyber school was determining how I would provide support from a distance. If you want to learn more about my new teaching job for the 2020-2021 school year read this blog post here.
In this season of e-learning, I know you feel my pain! Knowing my student population was the same, I knew my students would continue to need help. They needed supports, accommodations and modifications to access my lessons. While I am always learning new tips and tricks, which I love to share with you all. I have found some really powerful supports that have helped my students attend and participate in ALL of our lessons!
Cover Things Up to Adapt Lessons!
In my physical classroom, I used paper overlays, post-it notes, and even my own hand at times cover work. I did it to help my students visually focus on certain parts of their work. It was different now that I had to do it virtually. I wanted to share worksheets that we could do together as a class. I wanted students to not be able to work ahead or be overwhelmed.
Then I realized I could use the “shapes” feature in both Google Slides and PowerPoint to cover parts of my lesson or materials. This simple hack has made such a difference.

Use any worksheet or slide you are sharing on your screen and put shapes that you can insert onto that slide. Then you can move the shape around the screen to make it cover whatever you would like!
Highlighting the Text OR Highlight Cursor Extensions
Highlighting is something that back when I was a kid, you got the marker out and just colored every line of text on a page. I have found a whole other meaning to highlighting in my virtual classroom. I often highlight my cursor when I am reading words on a page, giving directions, or wanting students to focus on a particular item on my screen. Like I might use a large pointer to draw attention to a poster on my wall in a physical classroom, the highlighted cursor is providing that same prompt through my screen. Here is an example of an extension that I use it’s called Crafty Cursor!

Using Text Boxes on Worksheets
When I want students to participate, it’s my goal to make that as seamless and simple for them as possible. I am not assessing their use of the tech platforms we’re using. I want to be sure none of those pieces are barriers to their participation.

When we highlight things for our students it’ helps them isolate things., It helps to simplify a way for my learners to engage.

Another way that I have made that work is through using the “annotate tool” on Zoom to draw on the screen. With this Boom deck here called “What Should I Wear?” the students work with me in a live Zoom class to select the clothing. When I teach this we do types of clothing in a specific order. I use the drawing tool on Zoom to circle the “tops” that we are choosing from. This provides another visual cue to students on the expectation.
Spotlighting Answers/ Prompting to Adapt Lessons
Much like the highlighted cursor, I like to use the option of drag and drop shapes (often with bright colored outlines) to circle important directives, visuals, and lesson focus points. Students can more clearly see where they should attend. I use these features to prompt my students so they can gain that same support.

I added images of this News2You article to a deck of boom cards. Then I upload these images of the squares and rectangles and made sure they could be used with the “drag” and “drop” feature to move them around the screen. If I ask a question, the students can find it and also circle it with me, or use it as a prompt to answer verbally.
Flexible Formats to Adapt Lessons
Giving myself the flexibility to rearrange my slides and lessons has been so helpful! During parts of my lessons, I need specific visuals to be front and center. I also may need my students to focus on a different part of my slide. I simply resize my images and make my fonts bigger/smaller during certain parts of my lesson to help my students focus best.

And for my FAVORITE hack… making Google Slides full size *and* interactive! HOORAY! This chrome extension can be downloaded to your Chrome browser and make things look like full size interactive Google slides, to your browser. I learned this from this post over at The Techie Teacher, and she can show you the simplest way to transform your slides!
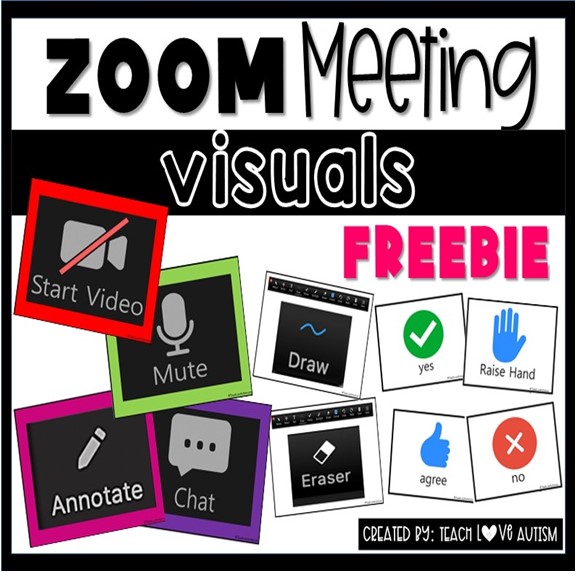
Lastly, I have a freebie for you that is perfect for teaching during your live lessons! Grab this set of visuals in my free resource library by signing up below!
What am I missing? Share your most useful e-learning modification with me in the comments!